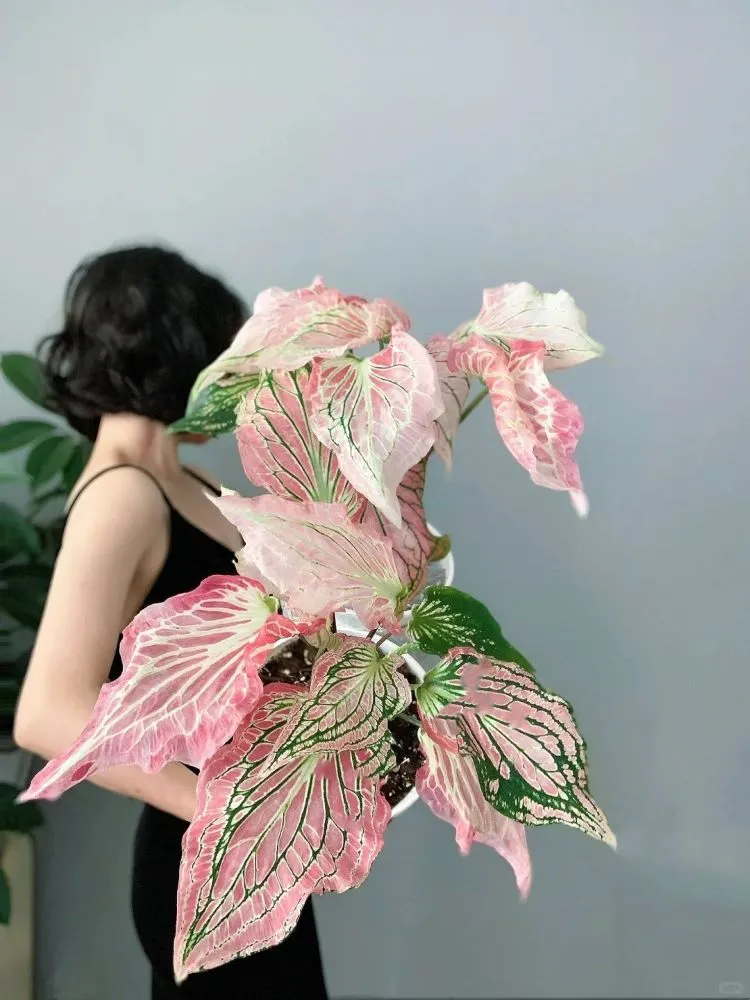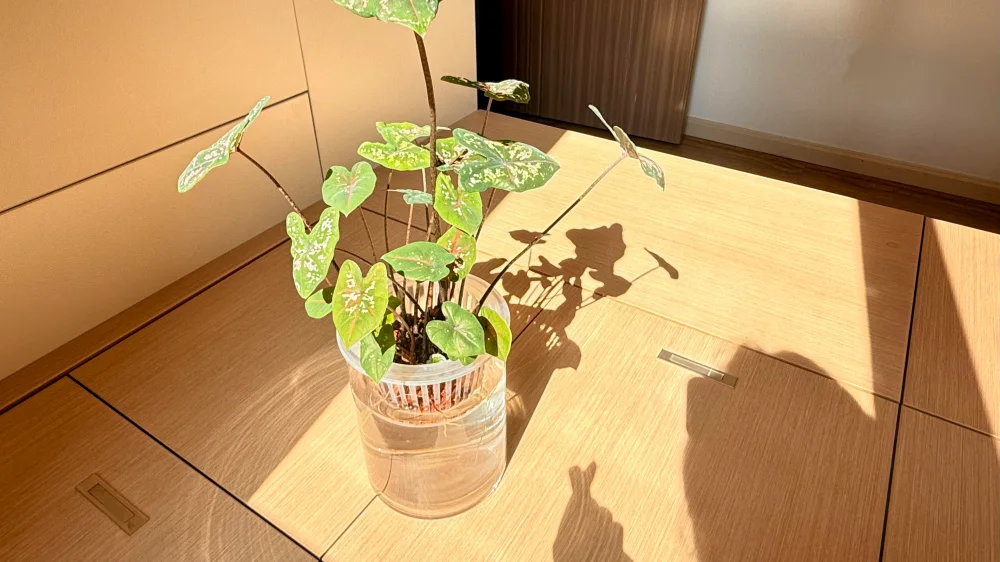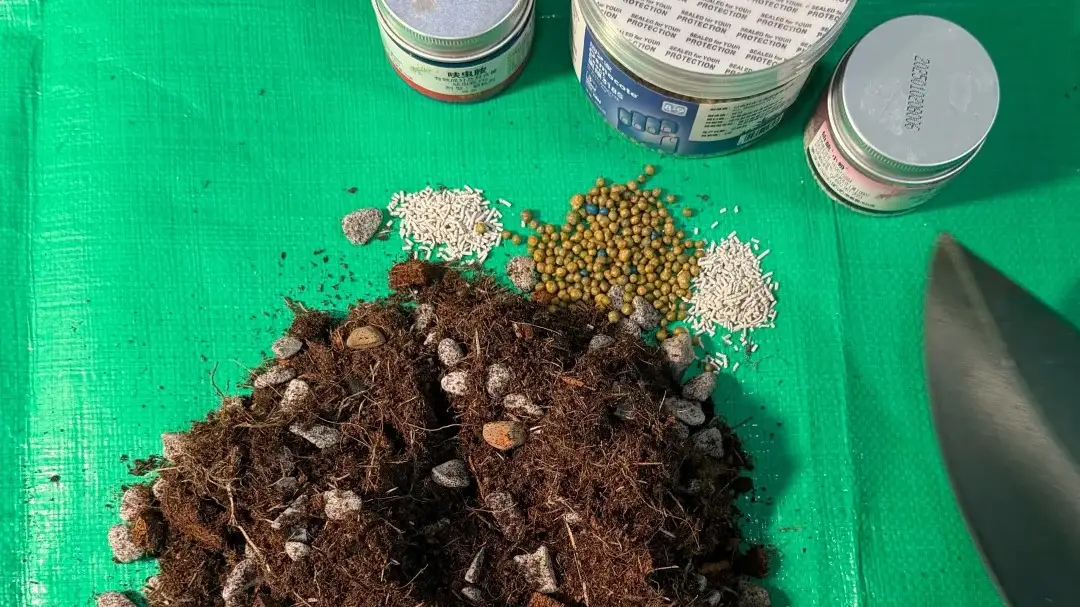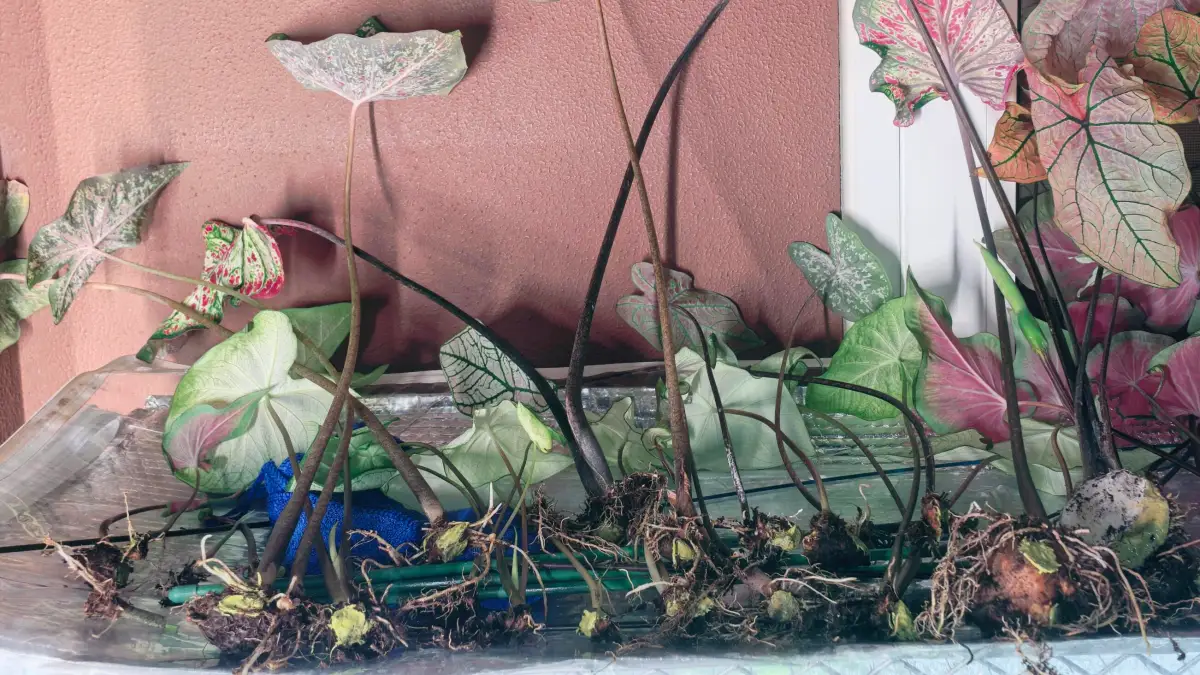
Once my caladiums have fully entered dormancy, the real question isn’t whether they will survive winter — it’s how I choose to store them. (If you’re still figuring out dormancy timing, I keep all the bulb-stage notes in my Caladium Bulbs guide.)
In my first year growing caladiums indoors, I assumed storage was simple. Stop watering, move the pot aside, and wait for spring. But I quickly learned that small details matter. Too much moisture during dormancy can cause rot — and if you’re unsure whether a bulb is just resting or actually failing, I broke down the warning signs in is my caladium dying. Sudden temperature drops can damage tubers. And storing them in the wrong place can undo an entire growing season.
Over the years, I’ve used two different storage methods: leaving the bulbs dormant in their original pots, and lifting the tubers to store them separately. Both can work — but each depends heavily on your indoor environment and how stable it remains throughout winter.
This guide isn’t about forcing caladiums to survive cold. It’s about keeping dormant bulbs dry, stable, and healthy until spring growth returns.
First — Wait Until the Plant Is Truly Dormant
Before thinking about storage, I make sure the plant has actually finished its growing cycle. Timing matters more than the storage method itself — especially when it comes to how quickly you taper off moisture. (This is the same logic I use in my seasonal guide on how to water caladiums.)
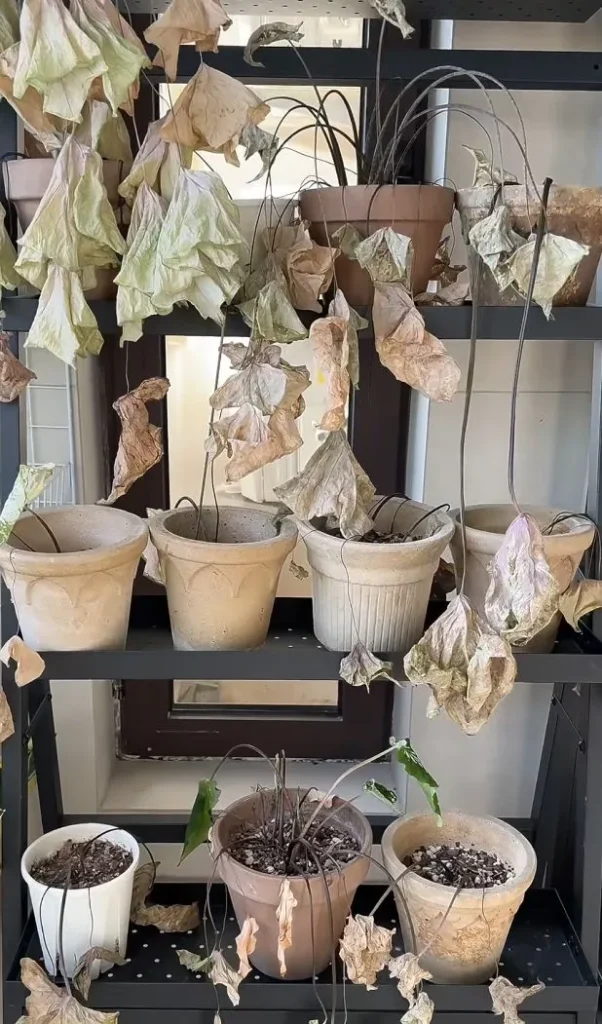
I don’t dig up tubers while leaves are still green. As long as foliage remains alive, it’s still transferring energy back into the bulb. Cutting or lifting too early interrupts that process and can weaken next season’s growth.
Instead, I let the leaves decline naturally. Stems soften, color fades, and eventually everything collapses on its own. Only after the foliage has fully dried and stopped drawing moisture from the soil do I move on to storage.
In my first year, I rushed this stage because I was worried about rot. Ironically, digging too early created more problems than waiting. Now I treat full dormancy as a clear transition point — not something I try to accelerate.
Method 1 — Storing Bulbs in the Original Pot
When This Method Makes Sense
Leaving caladium bulbs in their original pots is the simplest method — and it’s the one I use most often when my indoor environment stays stable.
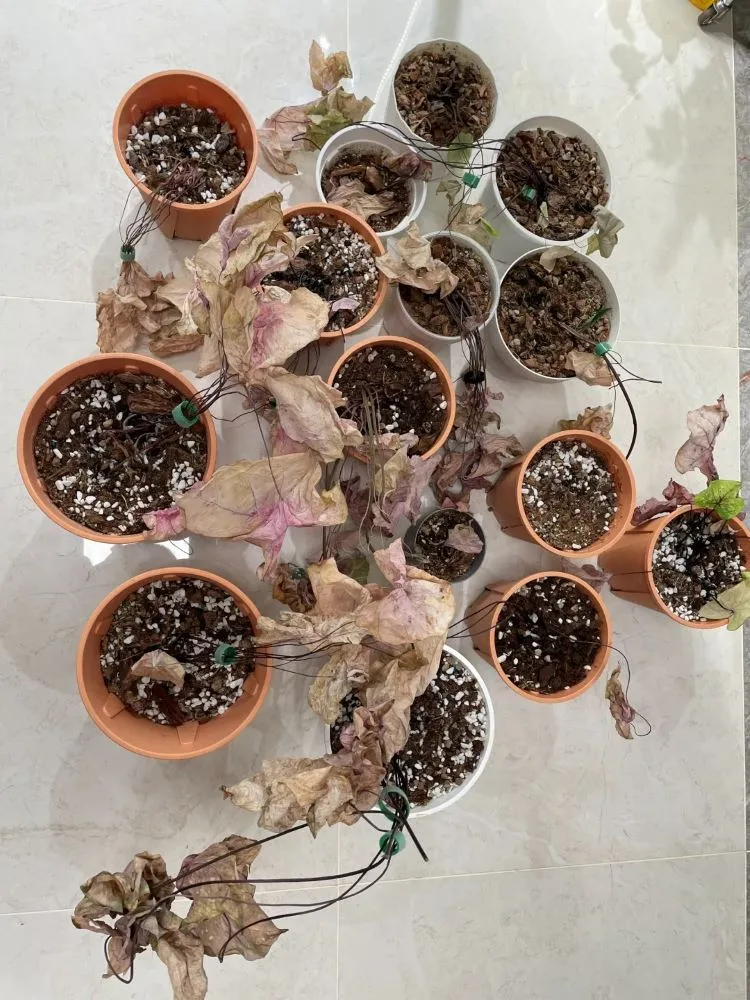
This approach tends to work best when:
- Indoor temperature stays above 10–15°C (50–59°F) through winter, without big swings.
- The space is dry and well-ventilated (not sealed in a humid corner).
- The potting mix won’t stay damp for long periods once you stop watering.
I like this method because it’s low-handling: the tuber stays undisturbed, and I’m not creating fresh wounds or stressing the bulb with extra cleaning.
What I Do Step by Step
I don’t jump straight to “no water.” I taper down gradually as the plant slows.
- Reduce watering as growth stalls. If the plant is still partly green, I keep the soil only slightly moist — not wet, not bone-dry.
- Stop watering once foliage fully collapses. When all leaves are dried and the stems have finished declining, I stop watering almost entirely and let the pot dry out.
- Cut dried stems — don’t pull. I snip everything off near the soil line. I used to tug out dead stems, but it can tear the tuber skin and leave wounds that rot easily.
- Move the pot to a dry, cool, stable spot. I keep it out of direct sun and away from damp corners. “Cool” matters less than “stable” — I mainly want a place that stays dry and doesn’t swing wildly in temperature.
After that, I basically leave it alone until spring. I don’t “check” the soil by poking it every week, because that usually leads to the one mistake that ruins this method: watering out of habit (this is why spring re-watering needs a reset — I explain my restart timing in how to water caladiums).
Risks to Watch For
This method works well — but only if the environment stays dry. These are the failure points I watch for:
- Accidental winter watering. Dormant bulbs don’t use water the way active plants do. In my experience, watering during dormancy is the fastest path to rot.
- Humid, airless storage spots. A closed cabinet, a damp corner, or anywhere with stale air can trap moisture and encourage mold — even if you aren’t watering.
- Oversized pots that hold moisture internally. Large containers and dense mixes can stay slightly damp deep inside long after the surface feels dry. If your pot is big or the mix is heavy, lifting and storing the tuber separately may be safer.
Method 2 — Lifting and Storing the Tubers
When I Choose to Lift
I don’t lift tubers every winter. But there are situations where I feel more comfortable taking them out of the soil.
- The potting mix holds too much moisture. If the soil stays damp for weeks after watering stops, I’d rather not leave the tuber sitting in that environment.
- I’ve had rot before. After losing a bulb to hidden moisture one year, I became more cautious about heavy mixes and large containers.
- I plan to refresh the soil next spring. Lifting makes repotting easier and gives me a clean reset for the new season.
- I want to inspect the tuber’s condition. For newer growers especially, seeing the bulb directly can be reassuring and educational.
For me, lifting isn’t about control — it’s about reducing uncertainty in environments that feel less stable.
How I Lift and Dry Them
I only dig once the foliage has fully declined and the soil has begun to dry. Digging too early interrupts energy transfer and increases the risk of soft tissue damage.
- Lift the tuber gently. I loosen the soil rather than pulling straight up to avoid tearing the base.
- Remove excess soil. I shake off loose mix but don’t aggressively scrub the surface.
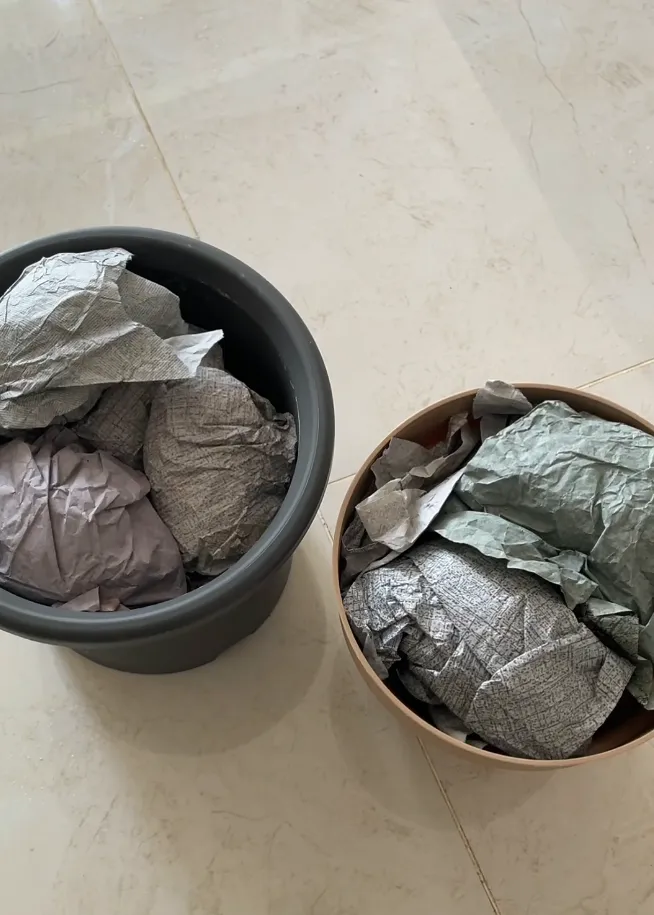
- Let the tuber air-dry naturally. I place it on newspaper or a tray in a dry room for several days.
- I never wrap it immediately. Freshly lifted bulbs need time for the outer surface to dry completely before being stored.
This drying stage matters more than most people realize. In my early attempts, I stored bulbs too quickly and trapped residual moisture around the surface — which later led to soft spots.
How I Store Them
Once the surface feels dry and firm, I wrap each tuber loosely in newspaper and place them in a breathable container. I don’t seal them in plastic.
- Temperature: Ideally between 10–18°C (50–64°F).
- Airflow: Stored in a space with gentle air circulation, not a sealed box.
- Location: Inside the house, not the garage.
I avoid garages because winter temperatures can fluctuate more than expected. In my experience, that kind of prolonged chill is one of the reasons people end up with caladium bulbs not sprouting in spring.
I also avoid humid cupboards or laundry areas. Dormant bulbs don’t need warmth — they need dryness and stability.
The Two Mistakes That Cause Rot
Most storage failures don’t happen because the room is too cold. They happen because moisture lingers where it shouldn’t.
Dormant Bulbs + Water
Once a caladium bulb is dormant, it is no longer actively using water. There are no leaves pulling moisture upward, no active growth demanding hydration. If the surrounding soil stays wet during this stage, that moisture has nowhere to go.
In my experience, watering during dormancy is the fastest way to cause rot. What feels like “keeping it from drying out” often turns into soft spots weeks later. By the time the surface shows signs of trouble, internal damage may already have started.
This is why I stop watering completely once foliage has fully declined. Dormant bulbs tolerate dryness far better than excess moisture.
Damp Air + Poor Airflow
Even without watering, rot can develop in spaces that trap humidity. A sealed plastic box, a closed cabinet, or a damp storage area can create a microclimate where moisture accumulates around the bulb surface.
I learned this after storing bulbs in a container that felt dry to the touch — but had almost no airflow. Weeks later, some developed mold despite never being watered.
Dormant bulbs don’t need warmth or darkness as much as they need stability and air movement. A breathable wrap and a dry, ventilated location make a bigger difference than trying to control temperature down to the exact degree.
Which Method Is Better?
I don’t think there’s a universally “better” method. The right choice depends more on your environment and experience level than on the plant itself.
If you’re newer to caladiums, lifting the tubers can be helpful. Being able to see and inspect the bulb directly teaches you what a healthy tuber looks like. Even if the first year feels awkward, you gain confidence from handling and storing them yourself.
If you’ve grown them for several seasons and understand how your indoor space behaves through winter, leaving them dormant in the pot can be just as effective — and much simpler. I often choose this route when my room stays above 15°C (59°F) and the air remains dry and stable.
For me, the decision isn’t about control. It’s about stability. If I trust the soil and environment, I leave them. If I don’t, I lift them.
Either way, as long as the bulbs stay dry, ventilated, and undisturbed through winter, they’ll wake up in spring ready to grow again.
FAQ
The key isn’t the exact length of time — it’s preventing moisture buildup during dormancy. A dry bulb can rest longer than most people expect.
Dormant bulbs are not actively absorbing water. In fact, watering during dormancy is one of the most common causes of rot. A slightly dry bulb is far safer than a damp one.
Refrigerators are often too cold and too dry, while garages in cooler climates can fluctuate more than expected during winter. Extended low temperatures — even above freezing — can damage dormant tubers over time.
I prefer storing them inside the house, in a dry space that stays between 10–18°C (50–64°F).
Soft spots, a sour smell, visible mold, or a mushy texture are signs of rot. If the surface wrinkles slightly but remains firm, that’s usually just dehydration — not damage.
When in doubt, firmness matters more than appearance. If the bulb stays firm but nothing happens once spring warmth returns, this is the troubleshooting path I follow in caladium not growing.
Still unsure how to care for your caladiums overall?
If questions about watering, sprouting, bulb health, or leaf behavior keep coming up, I’ve gathered all my real-world care observations in one place — organized by growth stage and common problems.
Explore the Caladium Care Guide →