When I first started growing caladiums, I approached sprouting the way most beginners do — by following standard online guides. I planted the bulb according to common instructions, kept the soil lightly moist, and placed the pot in what was described as a suitable environment. Everything looked correct based on what I had learned.
After about two weeks, there was still no visible change. No shoots appeared, and there were no signs that the bulb was preparing to grow. At first, I assumed this was normal and that patience was part of the process.
I decided to check the bulb anyway. What I found was more concerning than slow growth: there were no new roots forming, and parts of the bulb had already begun to soften, showing early signs of decay. At that point, it became clear that continuing to wait was not a neutral choice — it was when I started wondering if my caladium was dying.
That was the moment I stopped looking for more sprouting tips and started changing strategy.
What I Saw When I Dug the Bulb Up (And Why Waiting Was a Mistake)
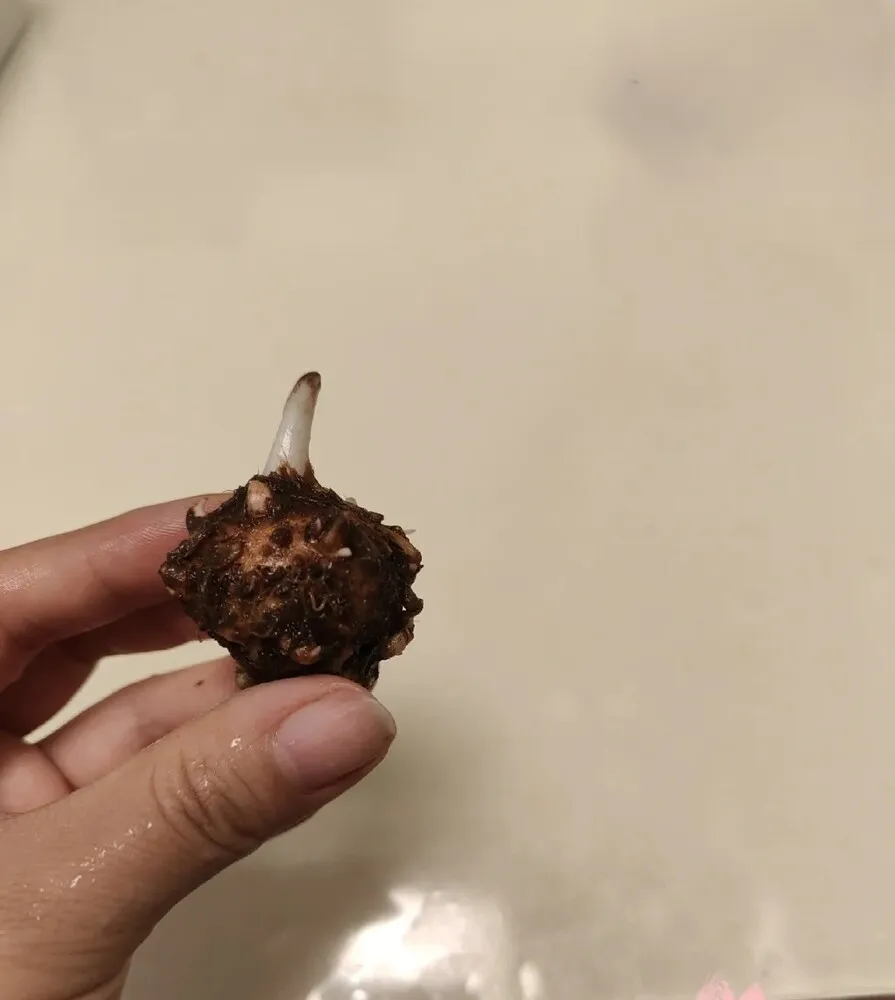
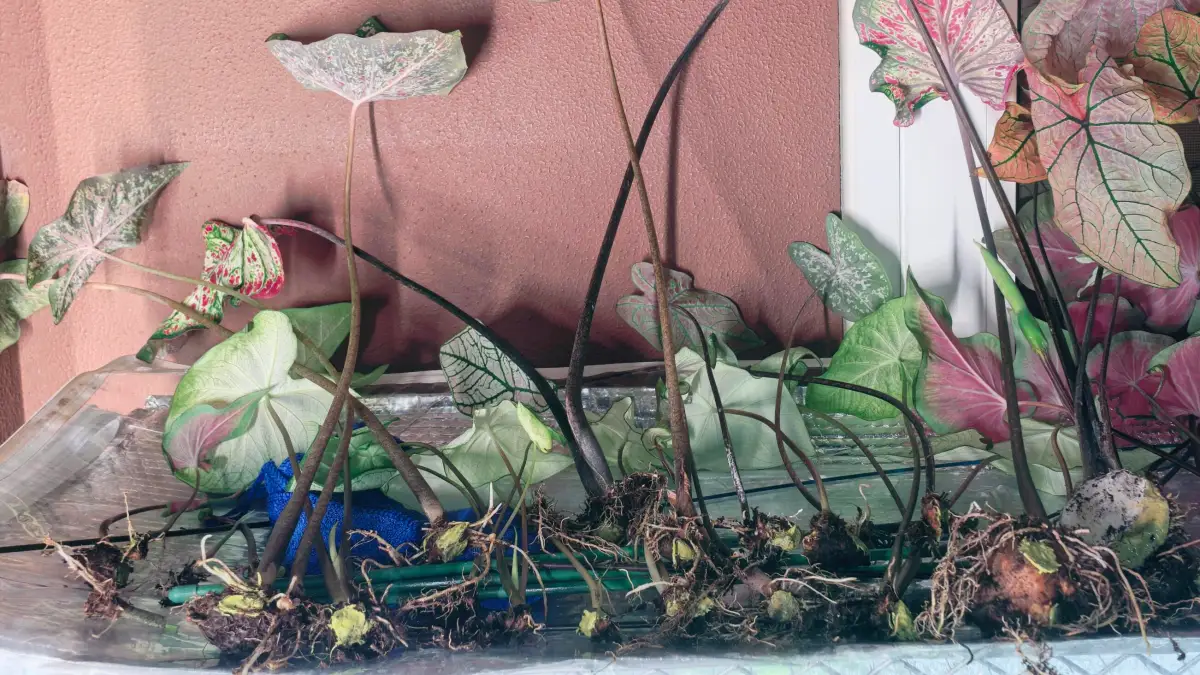
When I finally took the bulb out of the soil, the first thing that stood out was what wasn’t there. There were no new roots at all — not even the thin, early white roots you’d expect to see before a sprout breaks the surface. After more than two weeks in supposedly “correct” conditions, the bulb hadn’t initiated any below-soil growth.
The second thing I noticed was texture. Parts of the bulb were no longer firm. The surface had started to soften, and in a few spots, the tissue felt slightly mushy rather than solid. It wasn’t dramatic rot yet, but it was clearly moving in that direction.
Taken together, these two observations made the situation clear. The issue wasn’t that the bulb was slow to wake up. It was that the environment I had placed it in was actively working against sprouting. Nothing about the setup was supporting root formation — which meant waiting longer wouldn’t lead to growth, only further decline.
A caladium bulb that doesn’t sprout and doesn’t root is not dormant — it’s deteriorating.
What I Did Instead: My Step-by-Step Recovery Process
By the time I stopped waiting, the goal had changed. I wasn’t trying to make the bulb sprout anymore — I was trying to keep it alive. Everything I did next came from that shift in mindset.
Step 1 – Disinfecting and Assessing the Bulb
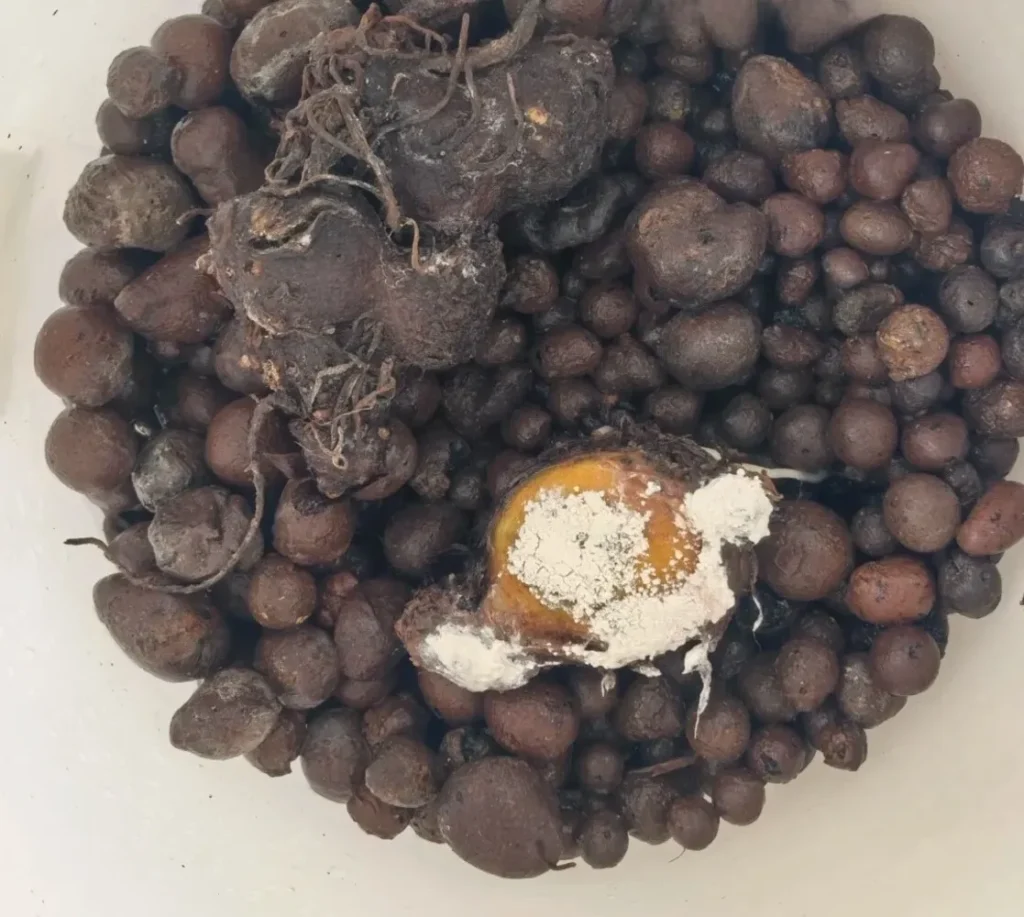
The first thing I did was take the bulb out of any growing medium and focus entirely on damage control. I mixed a plant-safe fungicide into water and soaked the bulb for about thirty minutes. This wasn’t about encouraging growth — it was about stopping whatever was already going wrong.
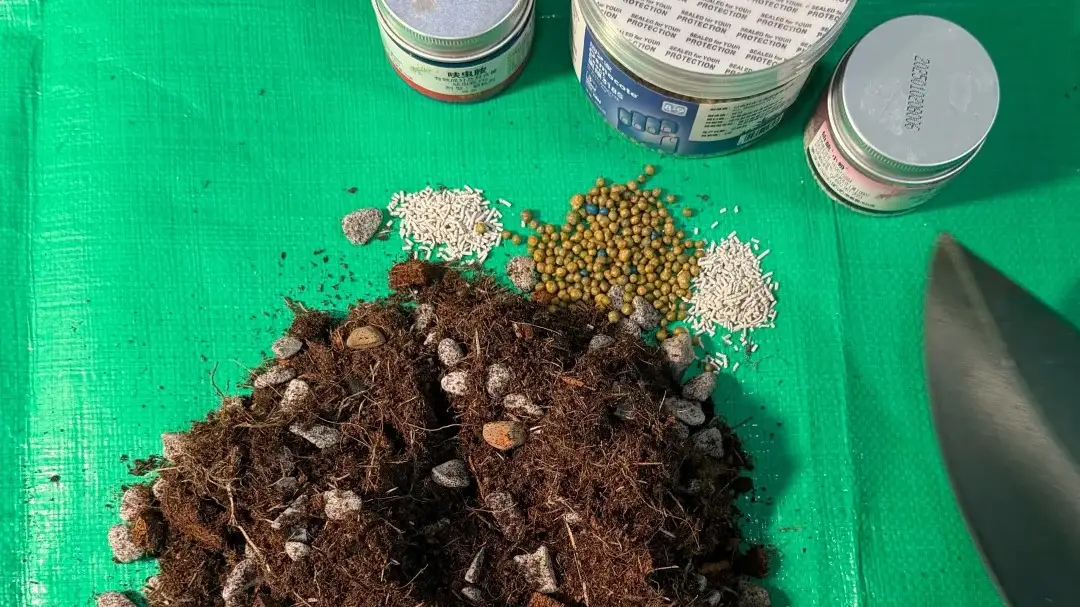
After soaking, I let the bulb air-dry naturally. Only then did I assess its condition. Any section that felt soft or showed signs of mold was cut away immediately. I didn’t hesitate here. Compromised tissue doesn’t recover — it spreads problems. Once trimmed, I coated the exposed areas directly with dry fungicide powder to protect the wound.
At this stage, survival mattered more than speed.
Step 2 – The Setup That Finally Triggered Root Growth
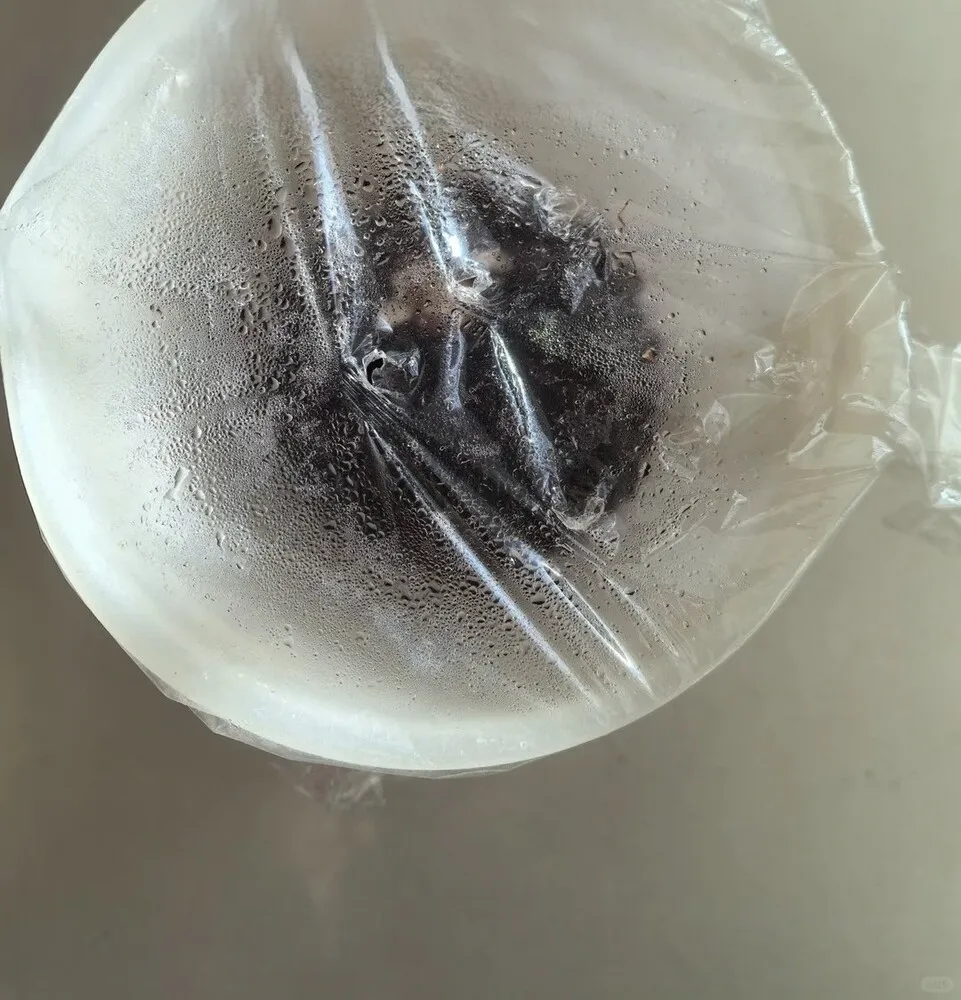
What I changed next was the biggest departure from every sprouting guide I had followed before: I stopped putting the bulb back into soil.
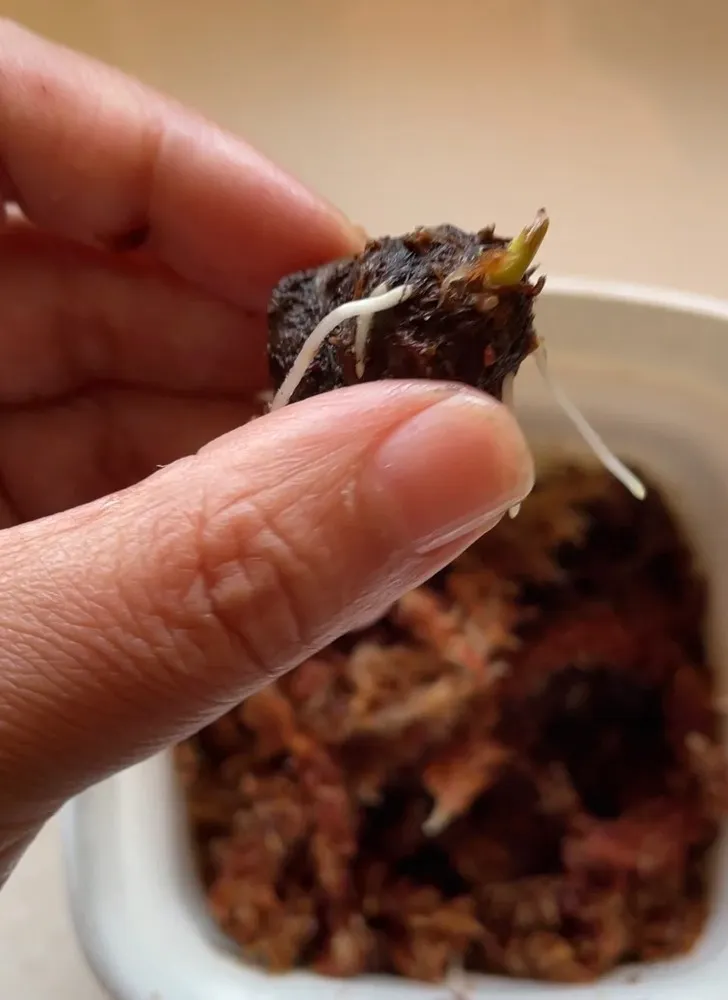
Instead, I set up a simple rooting environment using either damp paper towels or a layer of moist clay pebbles at the bottom of a container. The bulb sat above this moisture source, not buried in it. Most importantly, I positioned the bulb with the growth point facing downward. That single detail made a noticeable difference.
The environment was controlled, but not sealed. I loosely covered the container with plastic wrap and poked a few holes to allow airflow. The goal was humidity without suffocation.
Placement depended on season. In warmer months, the container stayed in a shaded, well-ventilated area. In cooler conditions, I kept it in the warmest spot indoors, maintaining temperatures above 25°C (77°F). Even so, I learned quickly that winter sprouting is far less forgiving — something I now avoid if I can.
Within three to four days, small white roots appeared.
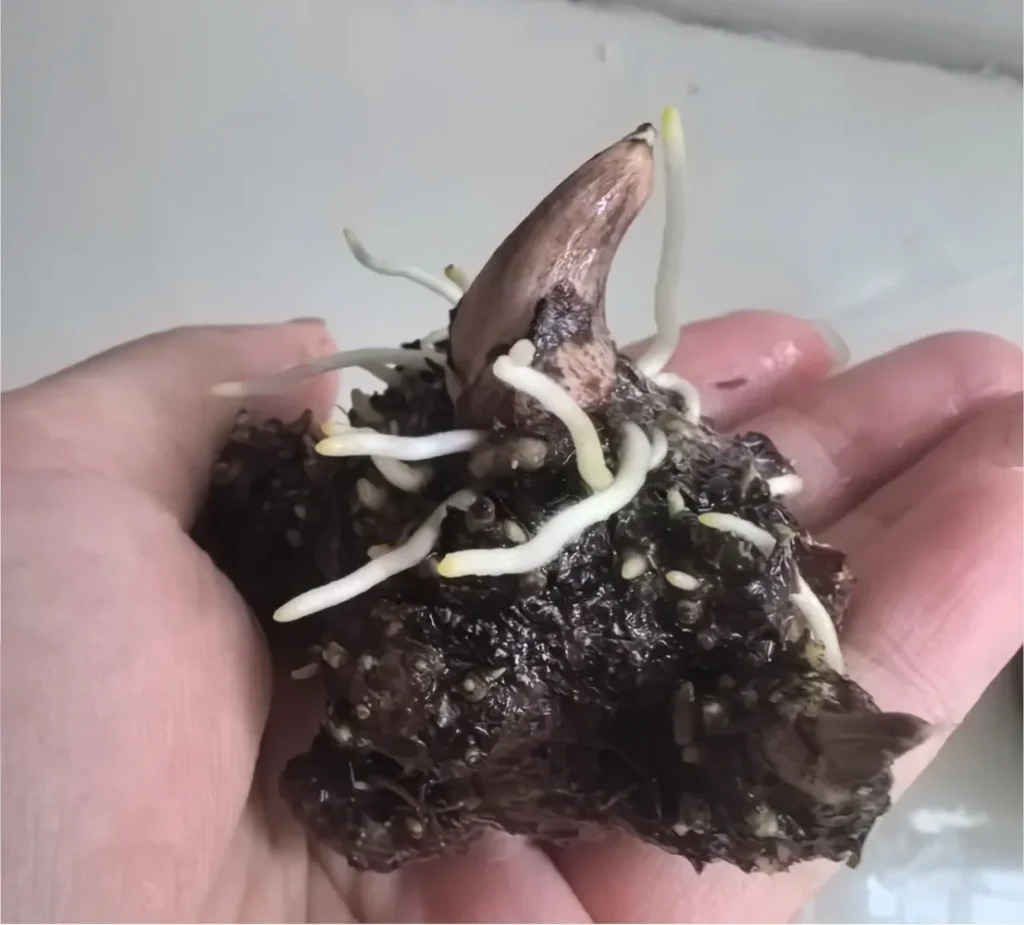
That was the turning point.
Once roots appeared, the bulb finally had a future.
Step 3 – How I Chose Between Water and Soil After Rooting
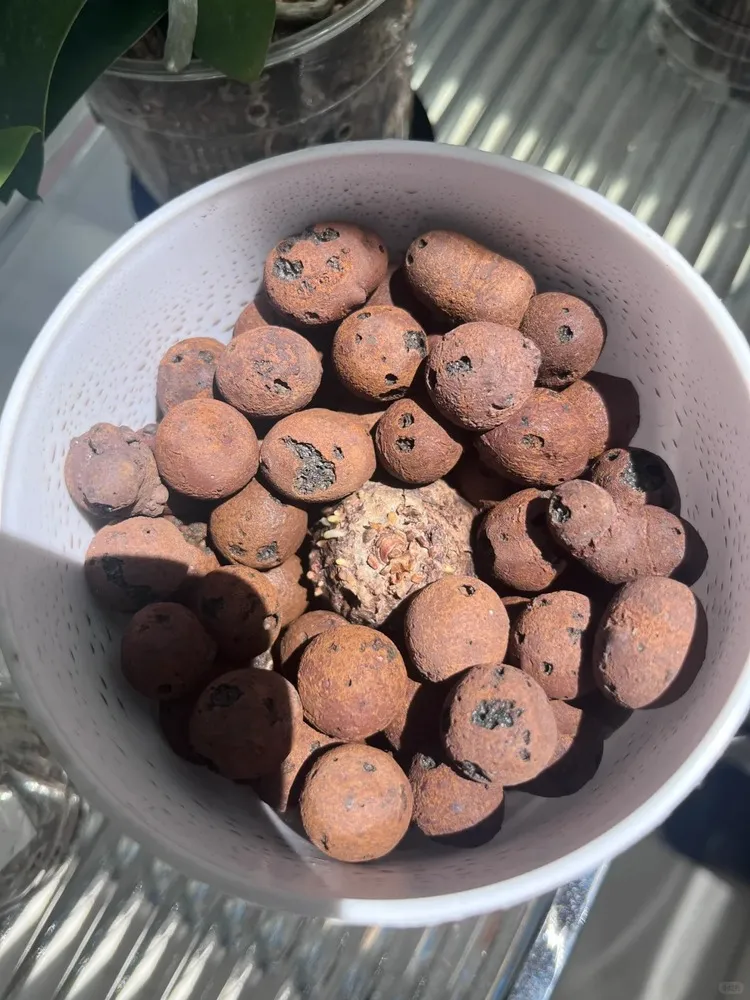
Only after roots had clearly formed did I decide how to continue — and this part was about choosing the least stressful option, not the fastest one.
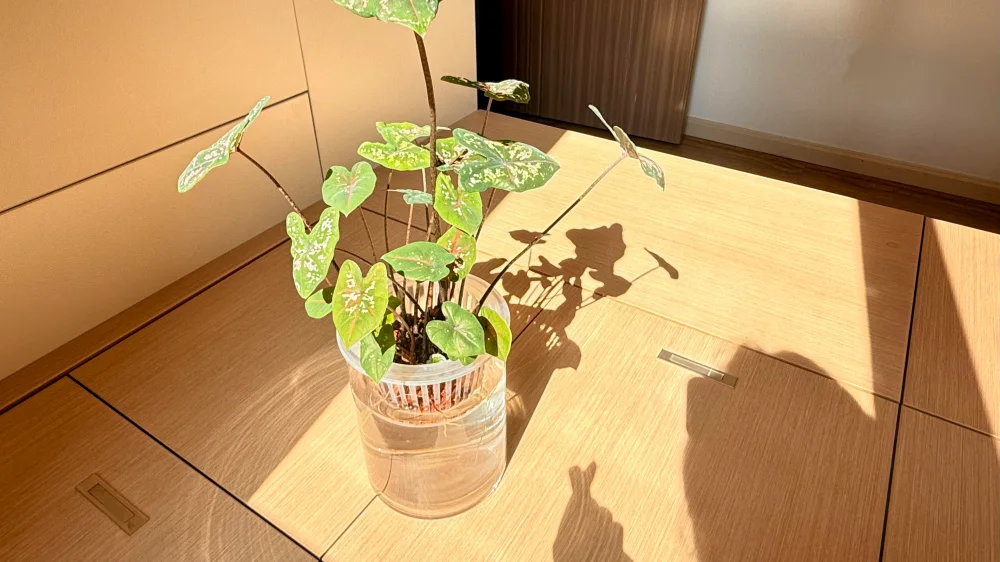
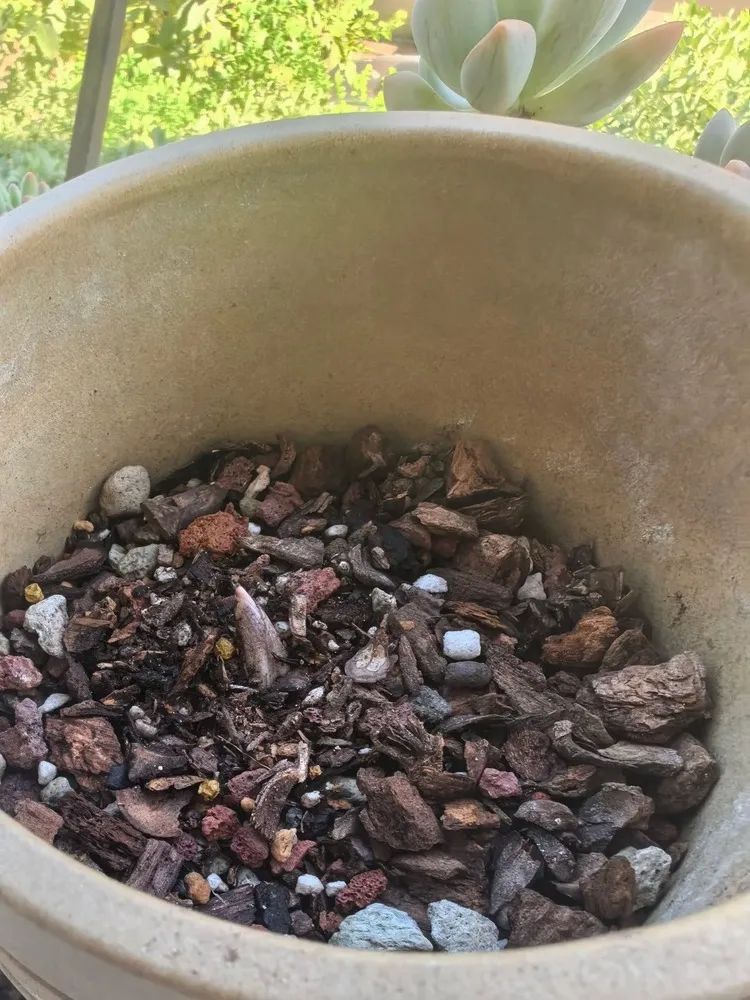
For water-based recovery, I placed the bulb on top of a shallow layer of volcanic rock. The water level stayed below the bulb, touching only the stones. The growth point remained fully exposed at all times. This setup kept moisture consistent without drowning the bulb.
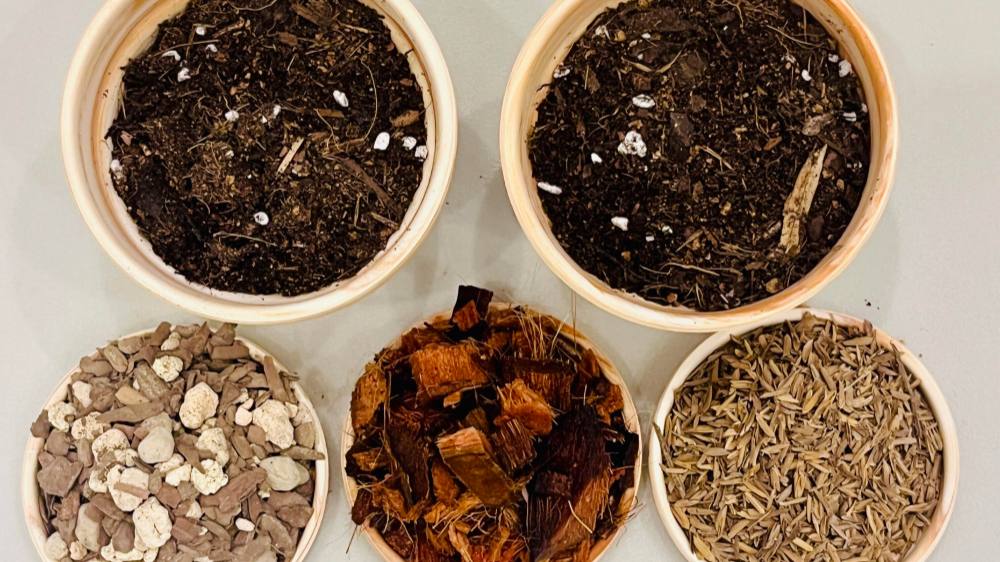
For soil-based recovery, I used a small pot — always smaller than I thought I needed. The mix was an extremely breathable mix: coconut husk, perlite, or a specialized aroid blend. Dense soil and oversized containers were exactly what had caused problems in the first place.
Through trial and failure, one principle became clear:
Root recovery works best in small, breathable setups — not oversized pots.
Once the roots stabilized, everything else followed more naturally. Growth stopped feeling forced, and for the first time, the bulb was working with the environment instead of fighting it.
Why This Worked: What Caladium Bulbs Actually Need to Sprout
Only after going through failure did the pattern become clear. The problem wasn’t that my bulb was slow — it was that the conditions I gave it were fundamentally misaligned with what caladium bulbs actually need at the start.
Looking back, what worked came down to three things.
First, the bulb itself had to be clean and structurally sound. A caladium bulb cannot initiate growth if part of it is already breaking down. Soft tissue, mold, or early rot doesn’t pause sprouting — it actively prevents it. Disinfection and removal of compromised sections weren’t optional steps; they were the foundation that made everything else possible.
Second, root formation had to come before any attempt at leaf growth. Most sprouting guides focus on what appears above the surface, but caladiums don’t operate that way. Until roots are established, the bulb has no reliable way to take in water or nutrients. Putting an unrooted bulb straight into soil only increases the risk of stagnation and decay. Once roots formed, growth stopped feeling fragile and started feeling directional.
Third, stability mattered more than intensity. High humidity without airflow created stress, not progress. What the bulb responded to was a warm, steady environment that stayed moist without being wet and breathable without drying out. Temperature consistency did far more for sprouting than excess moisture ever did.
That experience reshaped how I think about caladium propagation.
Sprouting doesn’t start with leaves. It starts with roots and internal stability.
Once those two pieces were in place, everything else — soil, light, even feeding — became supporting details instead of make-or-break decisions.
When This Method Makes Sense (And When It Doesn’t)
This approach isn’t meant to replace every normal caladium planting method. It’s a corrective strategy — one that makes sense in specific situations, and creates unnecessary risk in others.
It does make sense if you’re dealing with uncertainty or early failure.
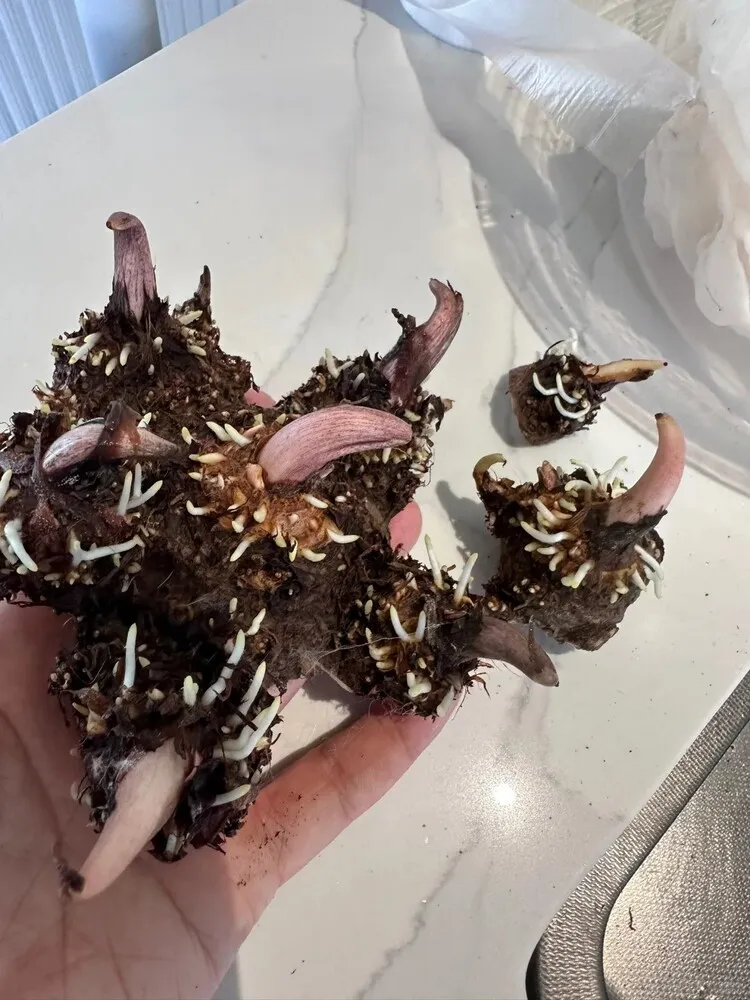
If you’re new to caladiums and can’t tell whether a bulb is dormant or declining, this method gives you clear feedback. Root growth (or the lack of it) becomes visible quickly, instead of being hidden under soil.
It’s also appropriate when you’ve already dug up a bulb and found no root activity at all, especially after weeks of waiting. At that point, returning it to soil doesn’t buy time — it usually accelerates deterioration.
And if the bulb shows early signs of rot or softening, this setup can be a last chance. Removing compromised tissue and forcing the bulb to stabilize before replanting often determines whether it recovers or collapses.
Where this method doesn’t make sense is just as important.
If a caladium bulb is firm, healthy, and already producing a visible shoot, there’s no advantage in disturbing it. Interrupting active growth introduces stress that the plant doesn’t need.
It’s also a poor choice in low-temperature environments, especially in winter. Without reliably warm conditions, the bulb can’t maintain the metabolic activity required for rooting. In that case, intervention often does more harm than patience.
Used in the right context, this method restores control. Used indiscriminately, it creates problems where none existed. The key isn’t the technique itself — it’s knowing when a caladium actually needs help.
To me, this experience changed how I think about caladium bulbs.
A bulb that isn’t sprouting isn’t always “slow,” and it isn’t always doomed either. What matters is whether it’s still capable of forming roots. Once I stopped waiting blindly and started paying attention to that signal, my decisions became much clearer.
Sometimes the most helpful thing you can do for a caladium isn’t to follow another guide — it’s to look, reassess, and change course early enough for the plant to recover.
FAQ
If a bulb shows no roots after weeks in soil, it’s often because the environment isn’t suitable for root formation, not because the bulb is dormant.
If there’s no sign of roots after that, waiting longer rarely improves the outcome and may increase the risk of rot.
A bulb that softens, smells off, or shows no root development isn’t dormant — it’s deteriorating.
Soil can hide early rot and slow deterioration until it’s too late.
Disinfecting, trimming affected areas, and encouraging root growth outside of soil can give the bulb a second chance.
It reduces guesswork and makes early problems visible instead of hidden in soil.
Still not sure what your plant is telling you?
If yellowing, drooping, or root issues keep showing up across different plants, I’ve organized my real-world observations and fixes in one place.
Go to Problems Hub →