When caladium bulbs fail, it usually doesn’t happen after growth starts. Most failures happen before you ever see a sprout.
The most common outcomes are simple: the bulb never breaks dormancy, or it rots quietly in the pot. And when that happens, it’s easy to assume the bulb was bad to begin with.
In reality, the problem is rarely the bulb itself. Most issues come from what happens between planting and sprouting — pot size that holds too much moisture, soil that lacks air, watering that’s too heavy too early, or conditions that keep the bulb cold and inactive.
This article is based on multiple real attempts at starting caladium bulbs indoors, including failures. The focus isn’t on perfect conditions or nursery advice, but on the specific choices that made the difference between bulbs that rotted and bulbs that reliably rooted, sprouted, and moved forward.
If your caladium bulbs never seem to make it past the waiting stage, this guide is meant to explain why — and what actually helps them get started.
Choosing Caladium Bulbs: Size Matters More Than Variety
When it comes to starting caladiums from bulbs, size matters far more than variety.
Within a reasonable budget, I always choose the largest bulbs available. Larger caladium bulbs are more stable at the early stage and far more forgiving if conditions aren’t perfect. Smaller bulbs, on the other hand, fail more easily — they dry out faster, rot more quickly, and often stall before sprouting.
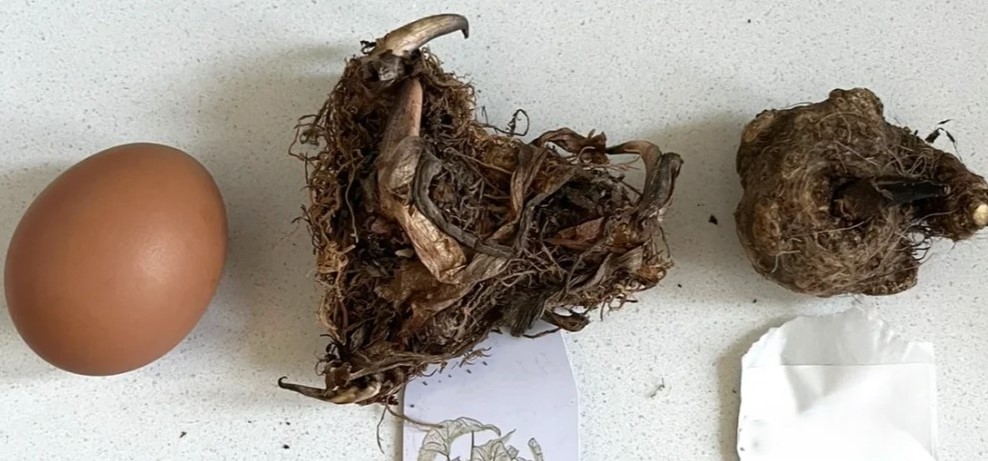
This has nothing to do with leaf color or pattern. Whether a bulb is labeled as a rare variety or a common one makes very little difference at this stage. What matters is stored energy, and bigger bulbs simply have more of it.
Giant caladium bulbs tend to root faster, tolerate cautious watering better, and move through the vulnerable pre-sprout phase with fewer problems. If something goes wrong early on, a larger bulb has a better chance of recovering instead of collapsing.
For starting caladiums indoors, choosing a healthy, firm, well-sized bulb does more for success than chasing names or marketing descriptions ever will.
Inspecting and Treating Bulbs Before Planting
This step is easy to skip — and it’s exactly why many caladium bulbs fail before sprouting.
As soon as the bulbs arrive, I check them immediately. Any soft, mushy, or foul-smelling areas are a problem. A firm bulb is what you want; even slight softness usually means early rot, not dormancy.
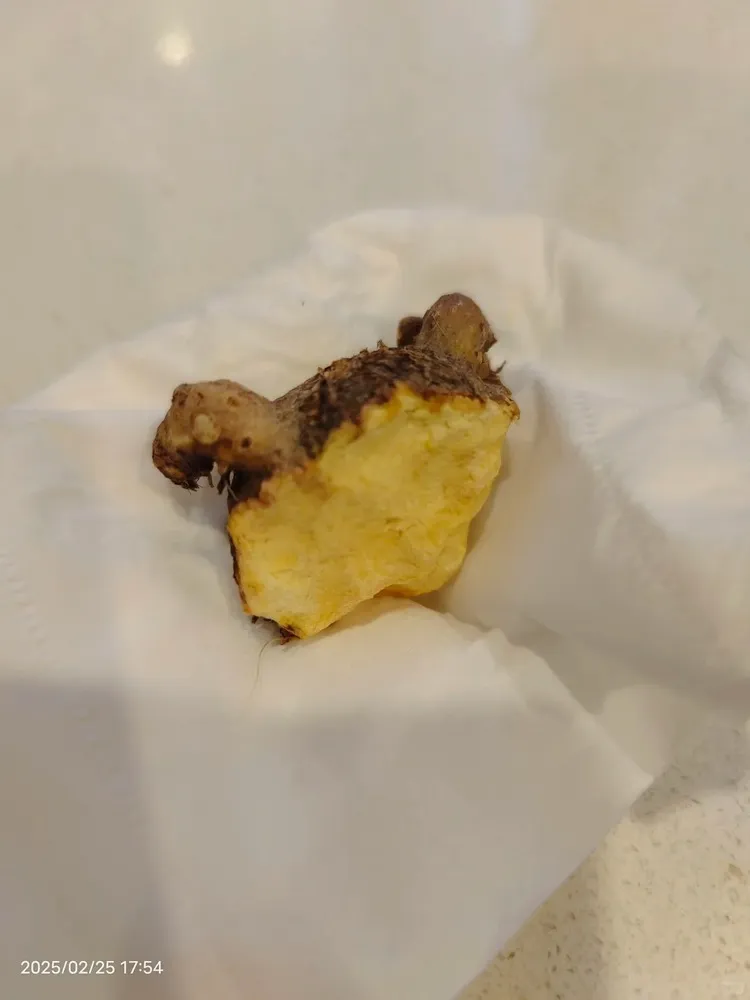
If the rot is minor, I cut it away completely until only firm, healthy tissue remains. Leaving “a little bit” of soft tissue almost always leads to further rot once the bulb is planted.
After cutting, disinfection is not optional. I soak the bulbs in a diluted fungicide solution, then let them dry thoroughly before planting. Skipping this step or rushing it greatly increases the risk of rot, especially in container setups.
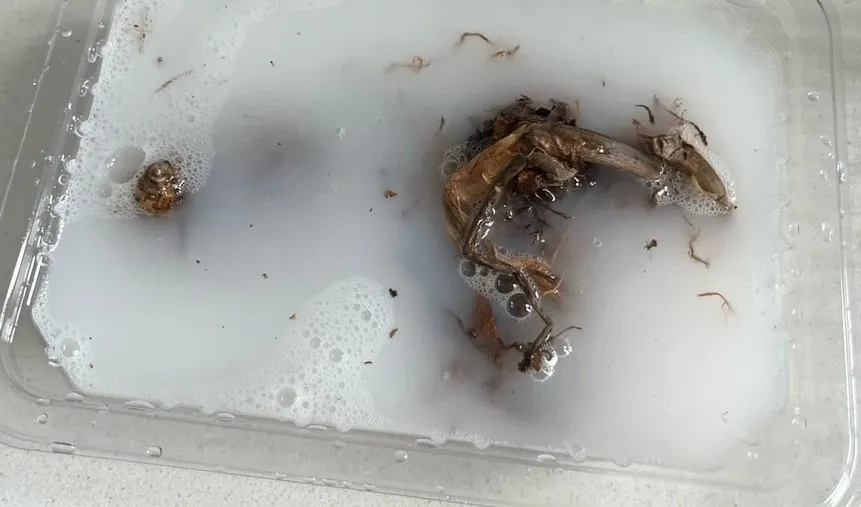
This process takes extra time, but it directly affects caladium bulbs care at the most vulnerable stage. Proper inspection and treatment before planting makes a bigger difference than any adjustment made later in the pot.
Choosing the Right Pot and Soil (Smaller, Airier, Better)
Getting the pot and soil right matters more than almost anything else when planting caladium bulbs in pots. Most early failures come from containers that hold too much moisture and soil that lacks air.
Pot Size: Smaller Is Safer
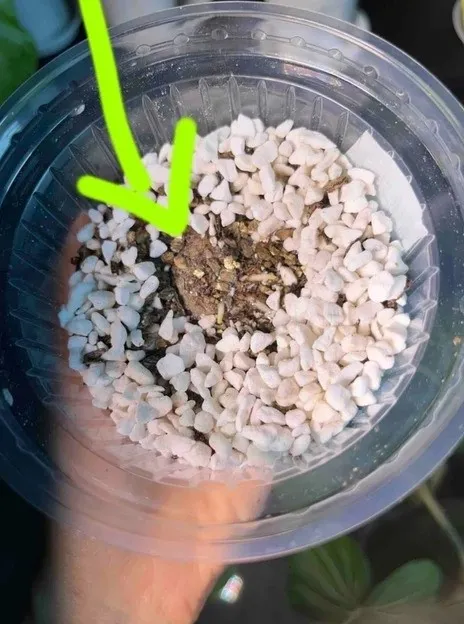
When planting caladium bulbs, smaller pots are safer than large ones.
A pot only needs to be slightly wider than the bulb itself. Oversized pots hold excess moisture around the bulb, which dramatically increases the risk of rot before sprouting. Bigger does not mean better at this stage.
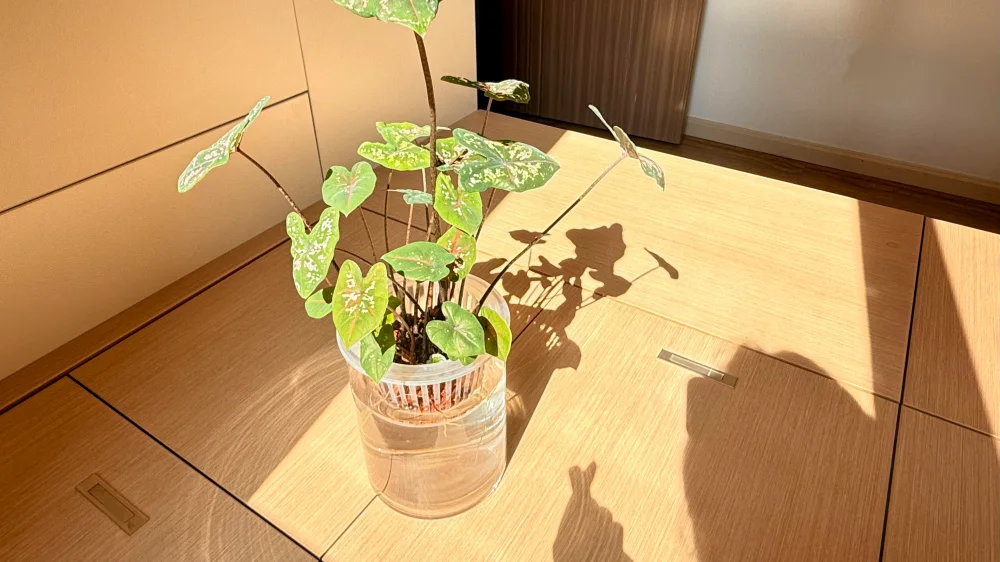
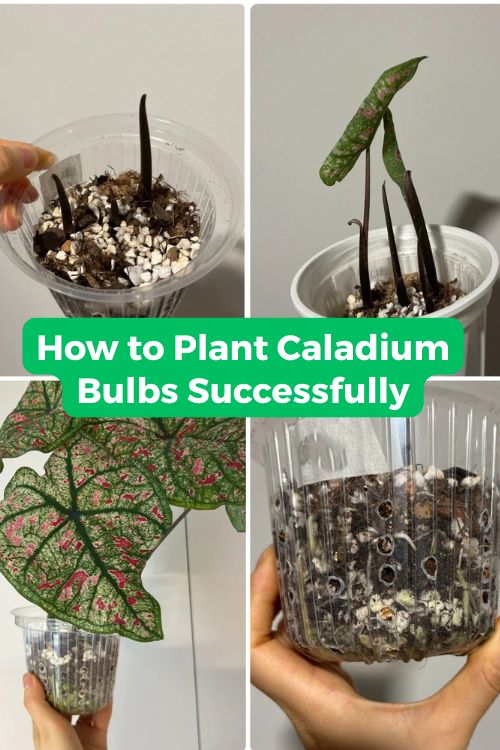
I also prefer using transparent pots when possible. Being able to see root development makes it much easier to judge progress without digging or disturbing the bulb. Once roots are established, the pot can always be placed inside a cover pot for light protection.
Soil Mix: More Air Than Soil
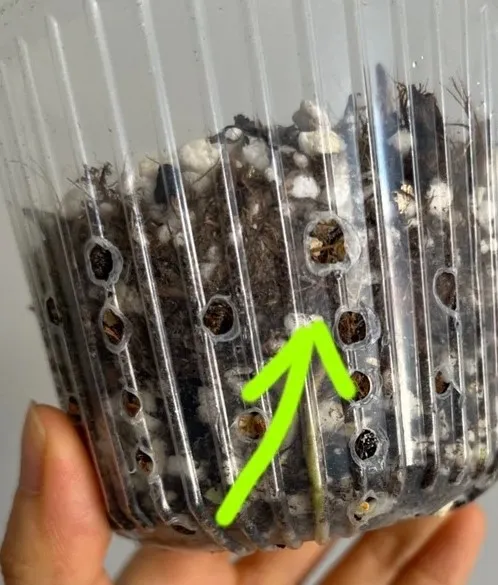
Caladium bulbs don’t need rich soil at the start — they need air.
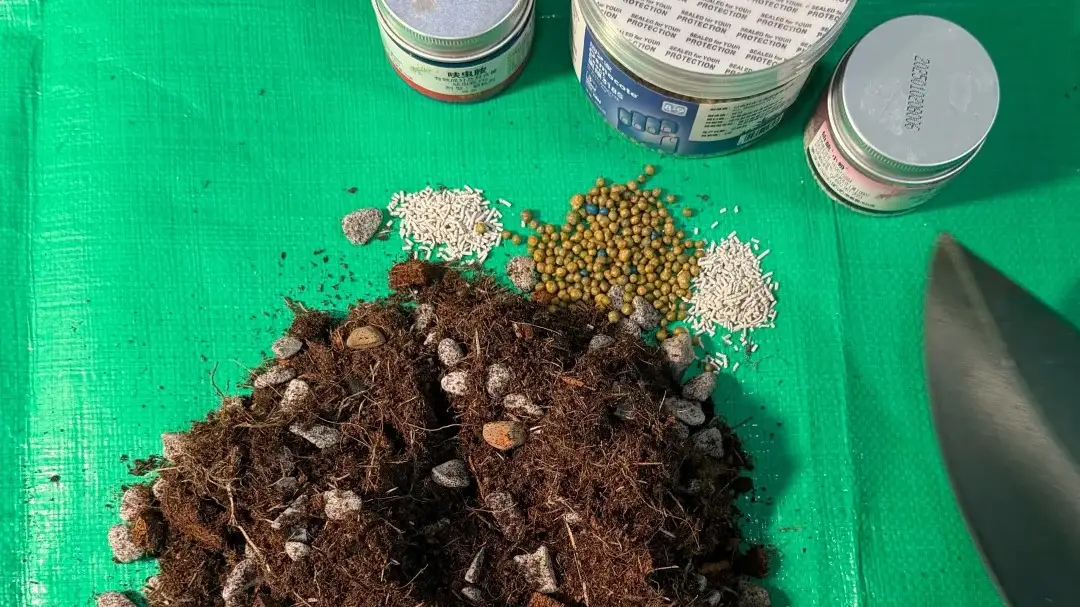
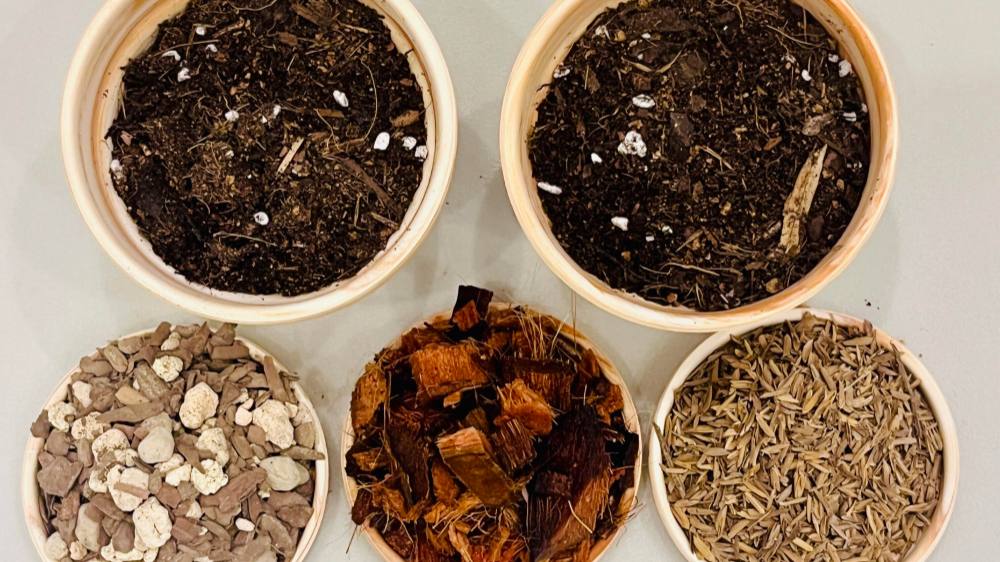
A simple mix of peat-based soil and perlite works well, with a high proportion of coarse particles. The goal is fast drainage and strong airflow, not moisture retention.
I don’t fill the pot completely. Leaving extra space reduces humidity buildup inside the container and keeps the bulb from sitting in overly wet conditions.
Planting Depth and Orientation
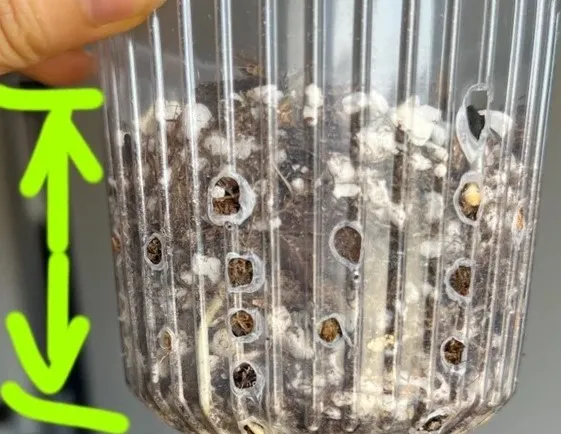
Caladium bulbs do not need to be buried deeply.
The top of the bulb should be covered with only a thin layer of soil — or left barely covered until sprouting begins. Deep planting slows warming and increases the chance of rot.
For orientation, the smoother, flatter side of the bulb goes down. If it’s not perfectly clear, it’s better to leave the bulb alone than to keep flipping it. Frequent repositioning does more harm than planting slightly imperfectly.
Knowing how deep to plant caladium bulbs — and which side is up — helps avoid unnecessary delays during the most sensitive phase of growth.
How to Plant Caladium Bulbs in Pots
This process is simple, and that’s exactly why it works. Overdoing any step here usually causes problems later.
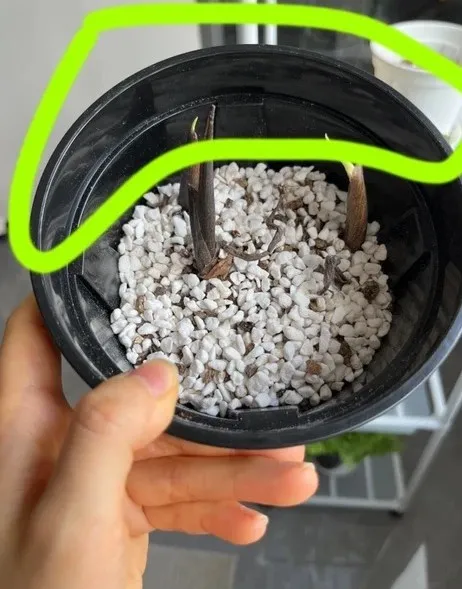
First, place the caladium bulb directly onto the prepared soil. The bulb should sit firmly but naturally, without being pressed down into the mix.
Next, add a thin layer of soil over the top of the bulb. This layer is meant to lightly cover, not bury. If the surface looks uneven or sparse, that’s fine. Caladium bulbs do not need to be hidden completely to start growing.
Do not compact the soil. Pressing the mix down reduces airflow and traps moisture around the bulb — two things that increase the risk of rot before sprouting.
Finally, resist the urge to make the pot look “finished.” A pot that looks loosely filled and slightly empty is often safer at this stage than one that looks neat and full. When planting caladium bulbs in containers, function matters more than appearance.
Once the bulb is placed and lightly covered, leave it undisturbed. Early success depends more on what you don’t do than on perfect technique.
Watering Caladium Bulbs Without Rotting Them
Watering is the most dangerous step when starting caladium bulbs. Most bulbs don’t fail from lack of water — they fail from too much of it, too early.
Instead of soaking the pot, I use a controlled, two-step approach.
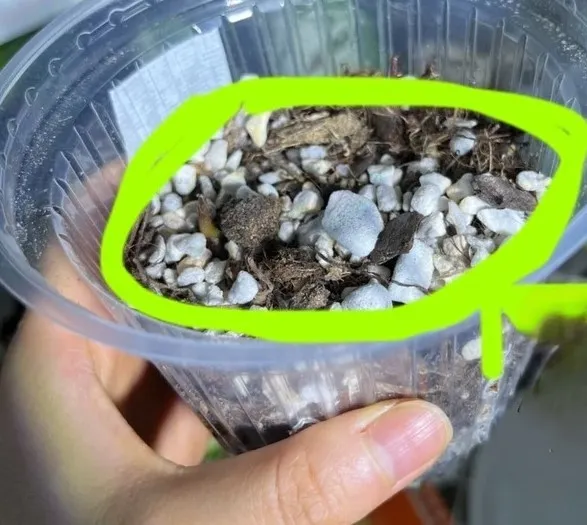
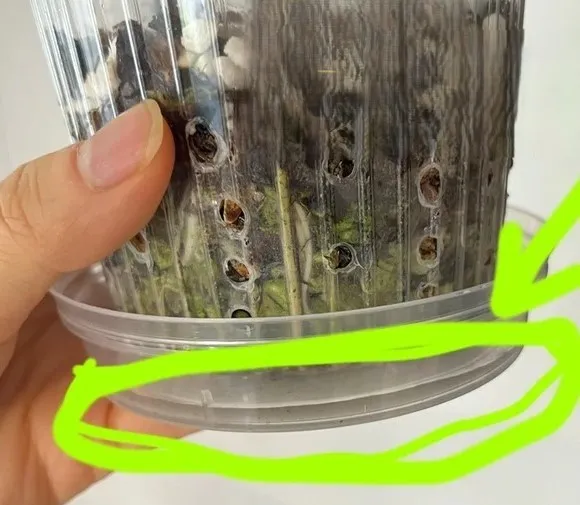
First, water along the inner edge of the pot, not directly over the bulb. I slowly circle the pot once or twice, letting the outer soil become evenly moist while keeping the center relatively dry. Once that edge area is wet, I stop.
Second, I add a small amount of water to the tray and let the pot absorb it from the bottom. This encourages roots to grow outward and downward instead of sitting in constant moisture near the bulb.
After watering, airflow matters. The pot is placed in a well-ventilated spot, and I wait until the soil is almost dry before watering again. This pause is critical. Constant moisture prevents oxygen from reaching the bulb and greatly increases the risk of rot.
This is why I do not follow the common advice to “water thoroughly.” Saturating the entire pot at this stage is one of the fastest ways to lose a caladium bulb. When deciding how often to water caladium bulbs, less is almost always safer than more until roots are established. If you want the broader indoor watering rhythm (beyond the pre-sprout stage), I wrote a full guide on how to water caladiums.
What to Expect After Planting (Roots First, Sprouts Later)
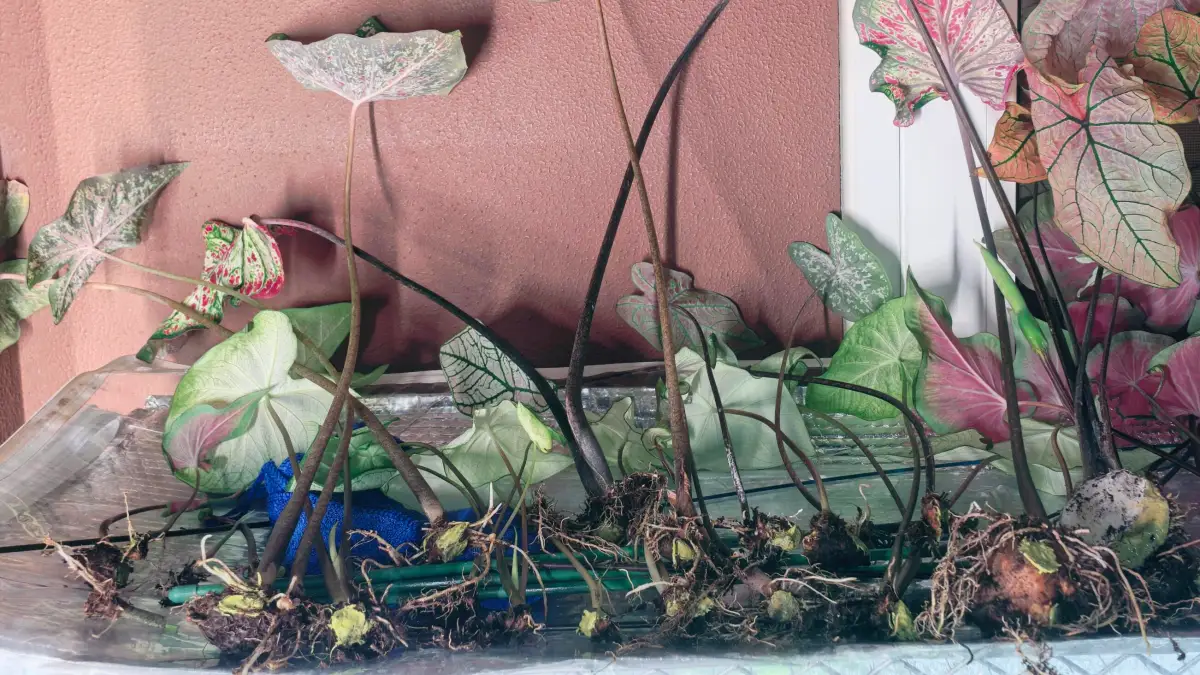
After planting, caladium bulbs don’t rush to show anything above the soil. Roots come first, sprouts come later.
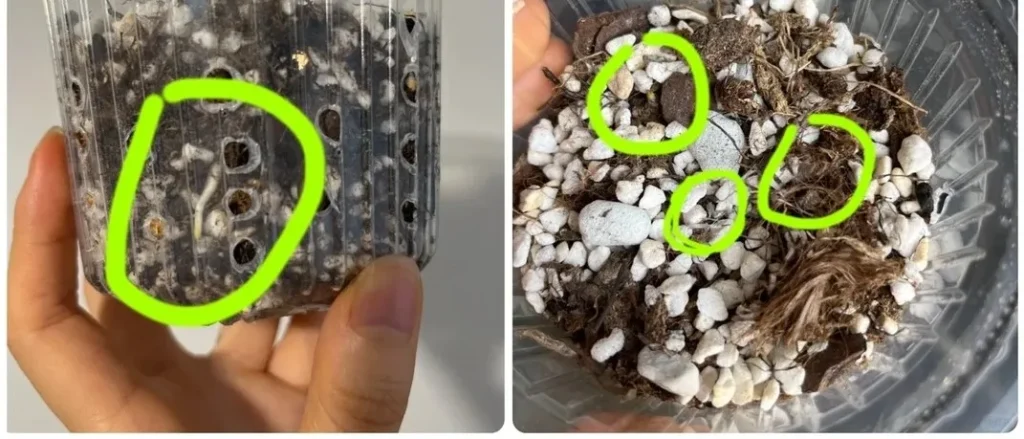
In many cases, you’ll see root growth within about a week, especially if conditions are warm and the pot has good airflow. This does not mean a shoot will appear immediately. A bulb that is actively rooting may still take time before pushing up a visible sprout.
This waiting period is where most people intervene too early. Digging, rotating the bulb, or increasing water usually does more harm than good. As long as the bulb remains firm and roots are developing, it is moving in the right direction.
Temperature matters more than the calendar. Caladium bulbs wake up when they’re warm, not because a certain date has arrived. At around 22°C (72°F) or higher, sprouting happens faster and more reliably. Cooler conditions slow everything down, even if the bulb is healthy. Light doesn’t need to be intense at this stage, but it does affect how stable indoor growth feels long-term — especially in winter. If you’re growing inside, my notes on caladium grow light indoors may help.
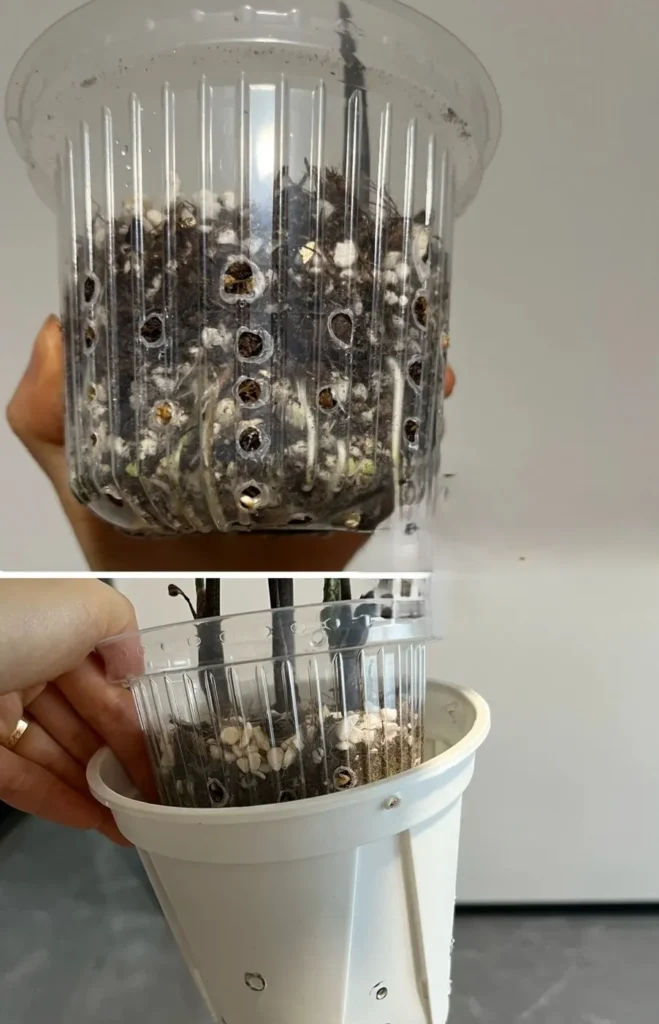
So when asking how long for caladium bulbs to sprout, the answer isn’t a fixed number of days. Warmth, airflow, and patience determine when sprouting caladium bulbs actually begin — not the planting date itself.
Common Mistakes That Kill Caladium Bulbs Early
Most caladium bulb failures come from a few repeat mistakes — not from bad bulbs.
Using pots that are too large
Oversized pots hold excess moisture and slow drying. This creates the perfect conditions for rot before the bulb ever sprouts.
Watering too much, too often
Caladium bulbs need air more than water at the start. Constant moisture suffocates the bulb and leads to rot long before growth appears.
Digging or repositioning the bulb
Checking too often disrupts root development. A bulb that is quietly rooting may look inactive above the soil, but interference can set it back or kill it. If you’re unsure about orientation, here’s a quick visual guide on which way up to plant caladium bulbs — so you can plant once and stop disturbing it.
Assuming “no sprout” means failure
Sprouting takes time, especially in cooler conditions. As long as the bulb stays firm, waiting is part of proper caladium bulbs care.
FAQ
Still not sure what your plant is telling you?
For more bulb-related guides (sprouting, storage, and planting checks), I keep them organized in the Bulbs hub.
Go to Bulbs Hub →